Your Guide to Acrylic Nails in 2024
Posted on Dec 25, 2023

Whether you’re considering which acrylic nail shapes you’d like to try next in your nail salon, or getting ready to try an at-home manicure, our acrylic nails guide can help.
Jump to the Section You Like
What Are Acrylic Nails?
One of the oldest and most popular manicure types of “fake nails”, acrylics are applied over your natural nails by a professional manicurist who brushes acrylic powder along with a liquid acrylic mixture onto the nail bed. They then gently push the paste into shape with a brush.
Acrylic materials can be used to harden your own nails or extend the entire nail to your preferred length by adding more acrylic paste on top of an artificial “tip.” The manicurist then lets the acrylic dry before filing and shaping it.
You’ll need to get an acrylic manicure “filled in” every 2-3 weeks as your nails grow, and most manicurists recommend you reapply acrylic nails every 6-8 weeks. An acrylic application takes anywhere from 45 minutes to an hour and a half, and needs to be done in a well-ventilated area.
What’s the Difference Between Acrylic and Gel Nails
Both acrylics and gel nails can be used to extend your natural nails, but they use different techniques and materials.
Acrylics use a mixture of an acrylic liquid and powder monomer on the nail bed, while gel nails are a single product.
Gel nails are applied and hardened in multiple stages, building up to a top layer, while acrylics are a single layer that the nail technician can brush flat or shape.
Gel nails are naturally shiny, whereas acrylics require a top coat of nail polish to achieve the same shine.
The gel that’s used is hardened using a UV light, not air-dried like acrylics, so while it’s possible to do your nails at home using acrylic kits, it’s much harder to do your own gel manicure.
Finally, gel nails need to be properly removed by a nail tech, whereas you won’t need to have a professional remove your acrylics- you can do it at home with acetone (be careful, as pure acetone is a strong solvent).
Do not miss our post on Christmas Nails Ideas.
How to Do Your Acrylic Nails At Home
If you’re feeling ready to try and apply acrylic nails, there are some things you’ll need to know to help avoid damaging your natural nail beds and getting good results. Remember: this is a skill that takes practice, so take your time.
Here’s a step-by step guide to help you do your own acrylic nails at home.
-
Get your supplies: You can either buy an acrylic nail kit with everything you need (along with detailed instructions), or you can get each item individually.
You’ll need:
- A cuticle pusher
- Nail tips
- Nail primer
- Nail glue
- A nail file
- Nail clippers
- Acrylic powder
- Liquid monomer
- An acrylic brush
- Mixing bowls (have an acrylic dish for powder and one for liquid)
-
Prep your nails: Remove any old polish, soak your hands in warm water and then push back your cuticles. Next, trim each nail tip to just above the smile line (the end of each nail), dry them and buff with a soft file.
-
Select and apply each acrylic tip: these will give you the long nails you’re looking for. Just like with press-on nails, you’ll select and glue on each one. They’ll have a 2-3 mm lip on the bottom edge where your own nail will sit.
Don’t be afraid to trim and file them before gluing for a perfect fit. Finally, gently trim and file the very tip of each nail to get the basic shape you want.
-
Use a nail primer: This will help the acrylics adhere to your natural nail and the tip evenly. Make sure to open a window or turn on ventilation.
-
Apply the acrylic mixture: Make sure that your liquid monomer and powder are each in a separate dish, dip your brush into the monomer, then gently tap it to remove excess liquid, then into the powder. This will create a small ball you can spread onto the nail.
Make sure to apply smoothly in the same direction, using even strokes. Wipe any excess on a paper towel and start again on the next nail.
-
Let them dry: Once you’ve coated and shaped each nail, it’s time to let your acrylics dry. The hotter it is, the faster this will happen, so it’s best for beginners to work in a cool room as they apply the mixture.
-
Add your finishing touches: Gently file along the edges to shape and smooth out any imperfections, then brush on nail polish and enjoy the results.
Do not miss our post on Beautiful Wedding Nails Ideas For Your Inspirations.
Pro Tip: If this is your first time, choose a nail tip that’s a manageable length to start out. You don’t want to risk snagging or pulling off your new acrylics and having to redo everything.
Do not miss our post on how much to tip nail salon.
Acrylic Nail Ideas For your Inspiration
If you’re looking for a new acrylic nail design to spark your creativity, then check these out.
Here are some of our favorite acrylic nail designs and shapes:
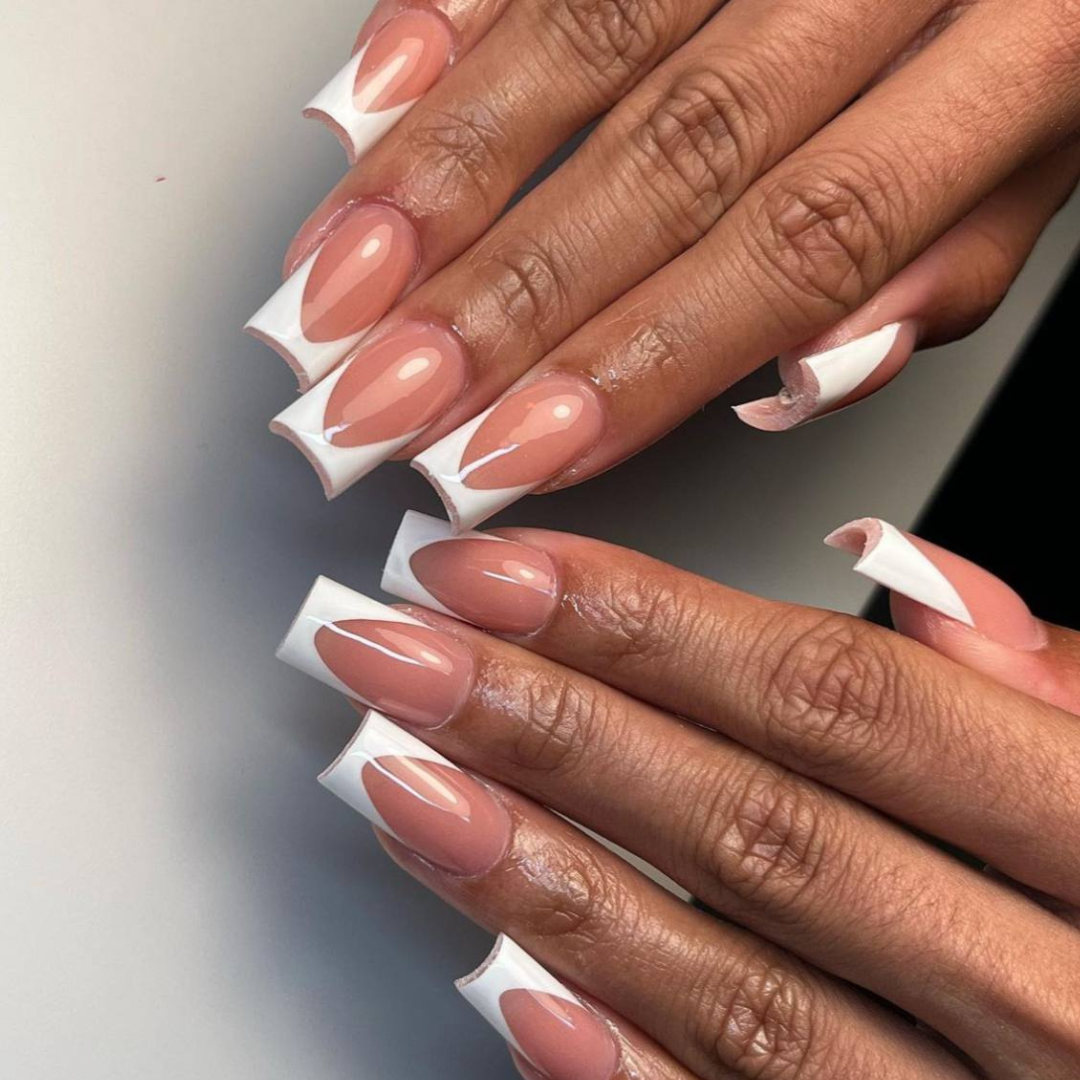
French Tip Acrylic Nails
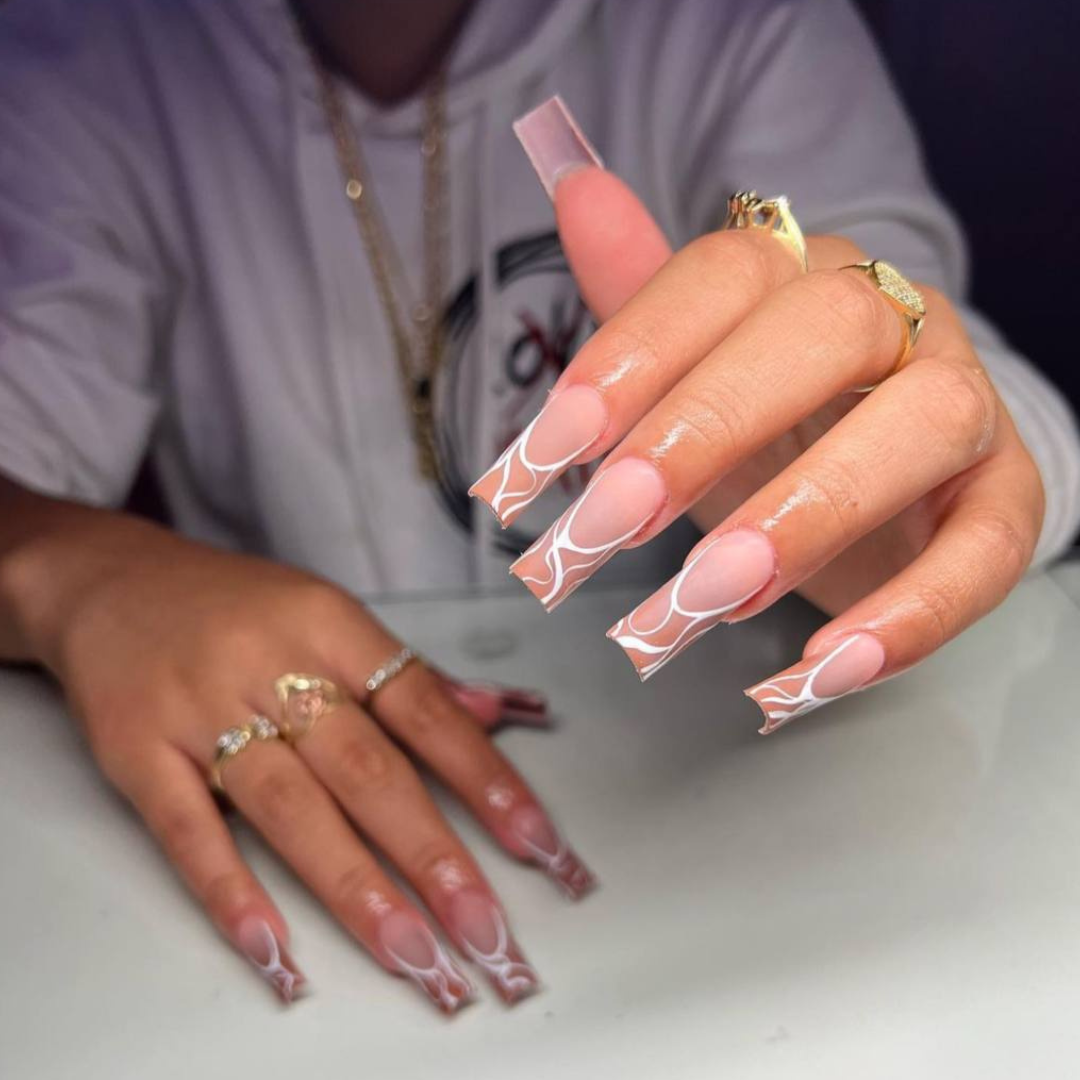
This is one of our favorite summer acrylic nails ideas because it’s so clean and classic. French acrylic nails can be done with white tips, or you can mix it up and add a burst of bright color like orange or yellow.
White Acrylic Nails
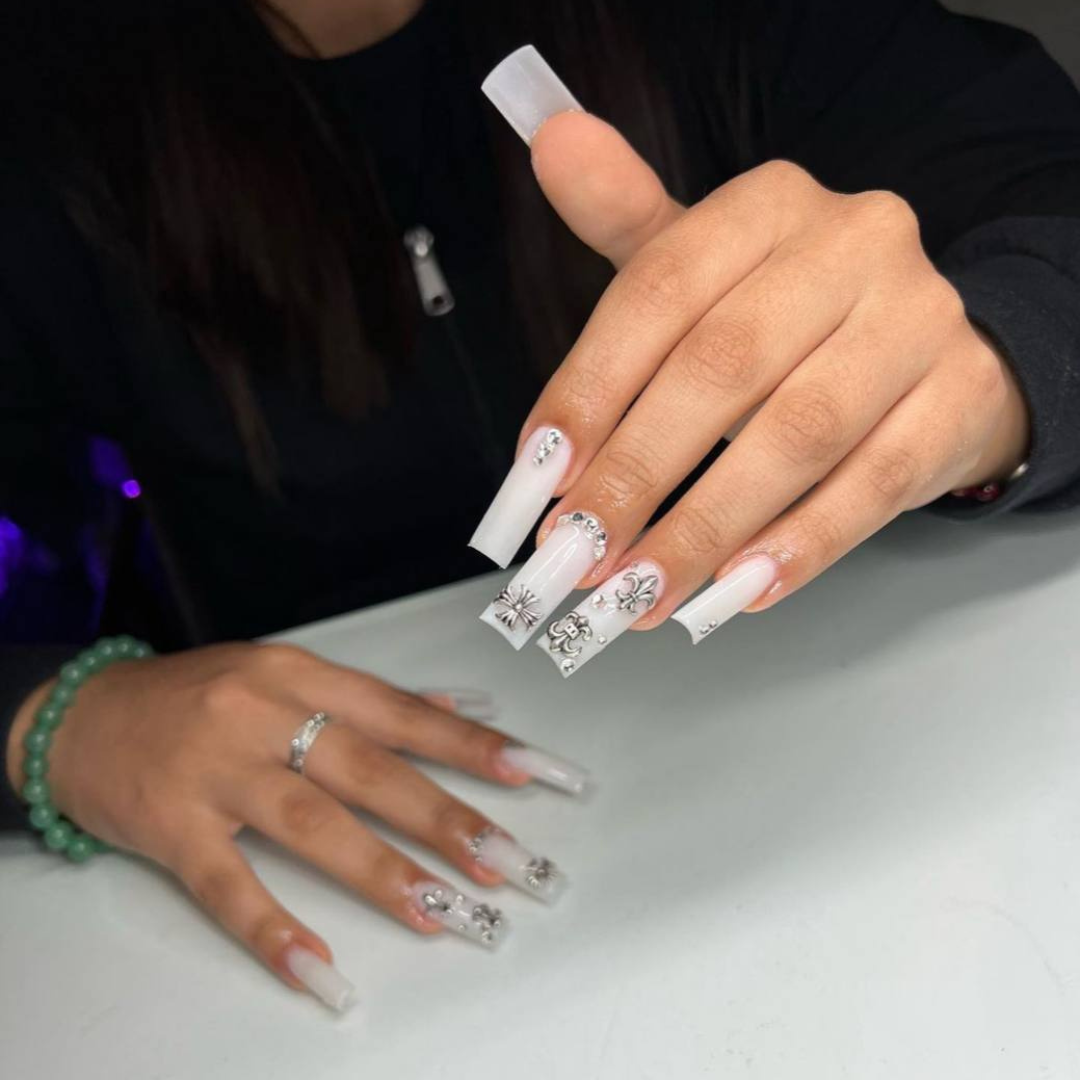
If you’re not satisfied with white tip acrylic nails, then what about choosing a gleaming white for the whole thing? You can add a stripe of a contrasting color or one or two “accent” nails in a different shade.
Reverse French Tips
These look great on short acrylic nails, because you don’t need the same length for the colored tip. Simply brush in a half-moon shape at the base in a different color for a reverse french manicure that looks fabulous.
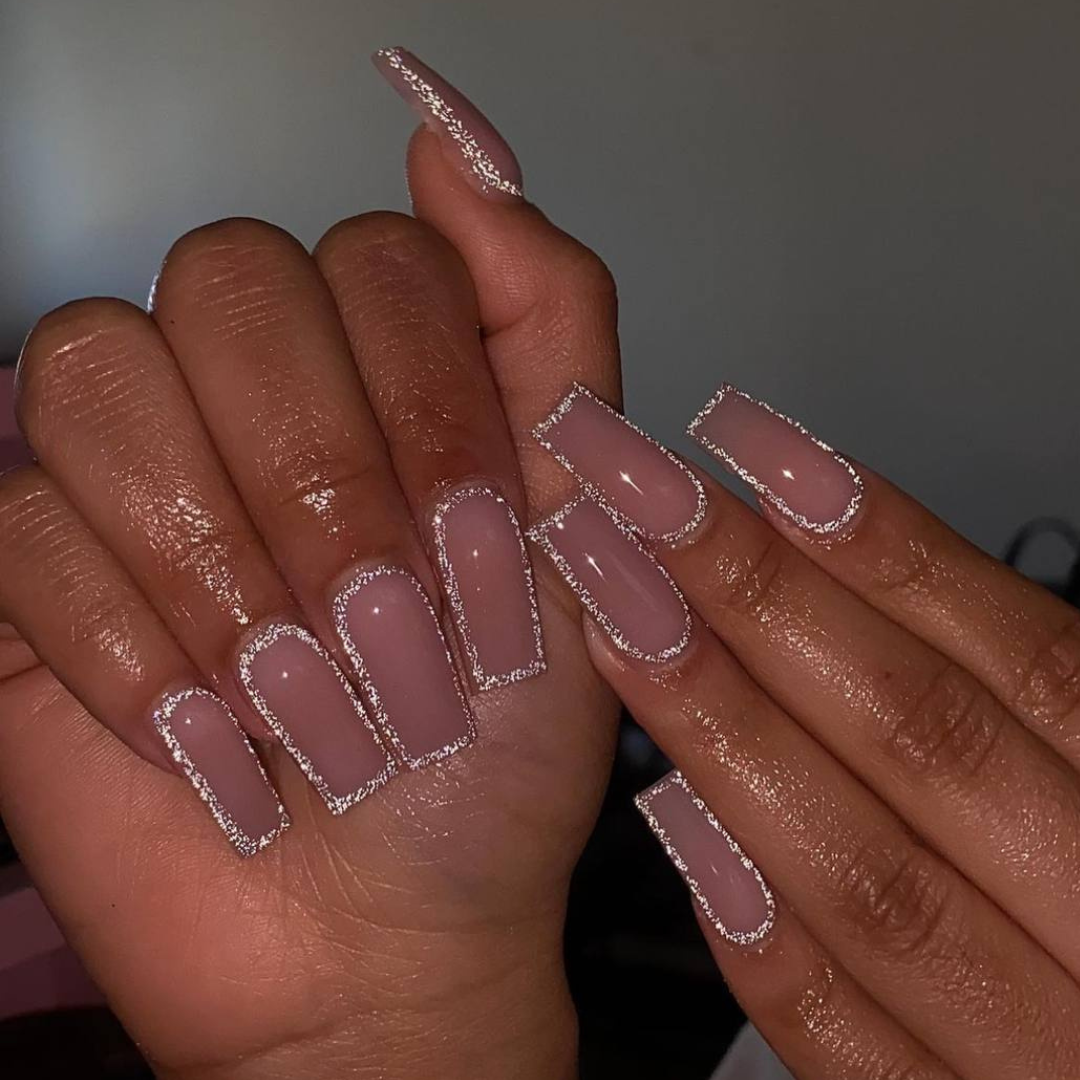
Nude Acrylic Nails
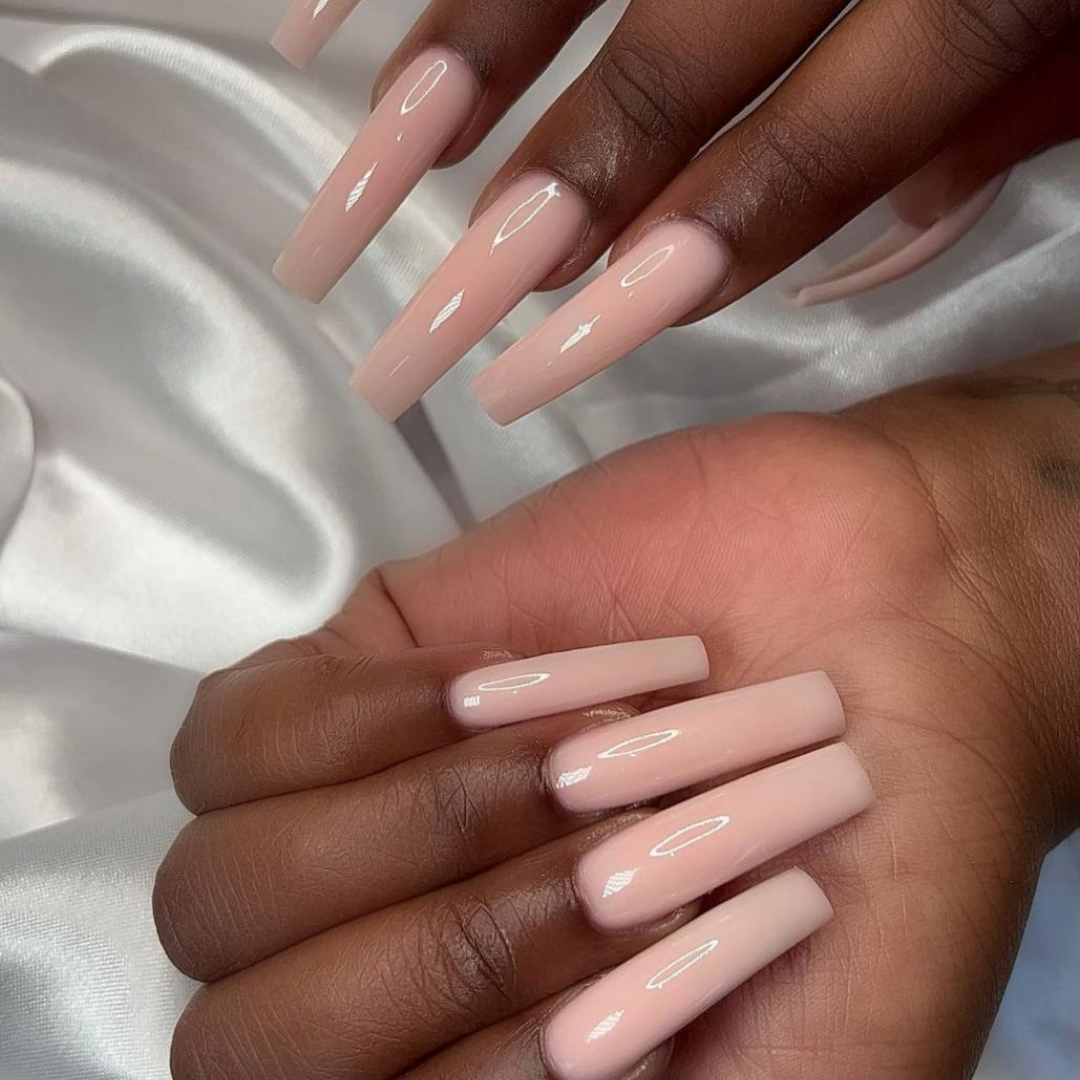
Because acrylic powder comes in different shades, you can get “natural” acrylic nails in a nude tone. This looks amazing with a high-shine topcoat or a few simple pieces of accent nail art. These look great in different lengths, too.
Pink Acrylic Nails
We’re so happy to see shades of pink making a comeback, especially when it’s pink (or red) acrylic nails. For a classic look, go with an oval shape and a soft pink shade. Of course, a pointed nail and a brighter pink is fun, too!
Black Acrylic Nails
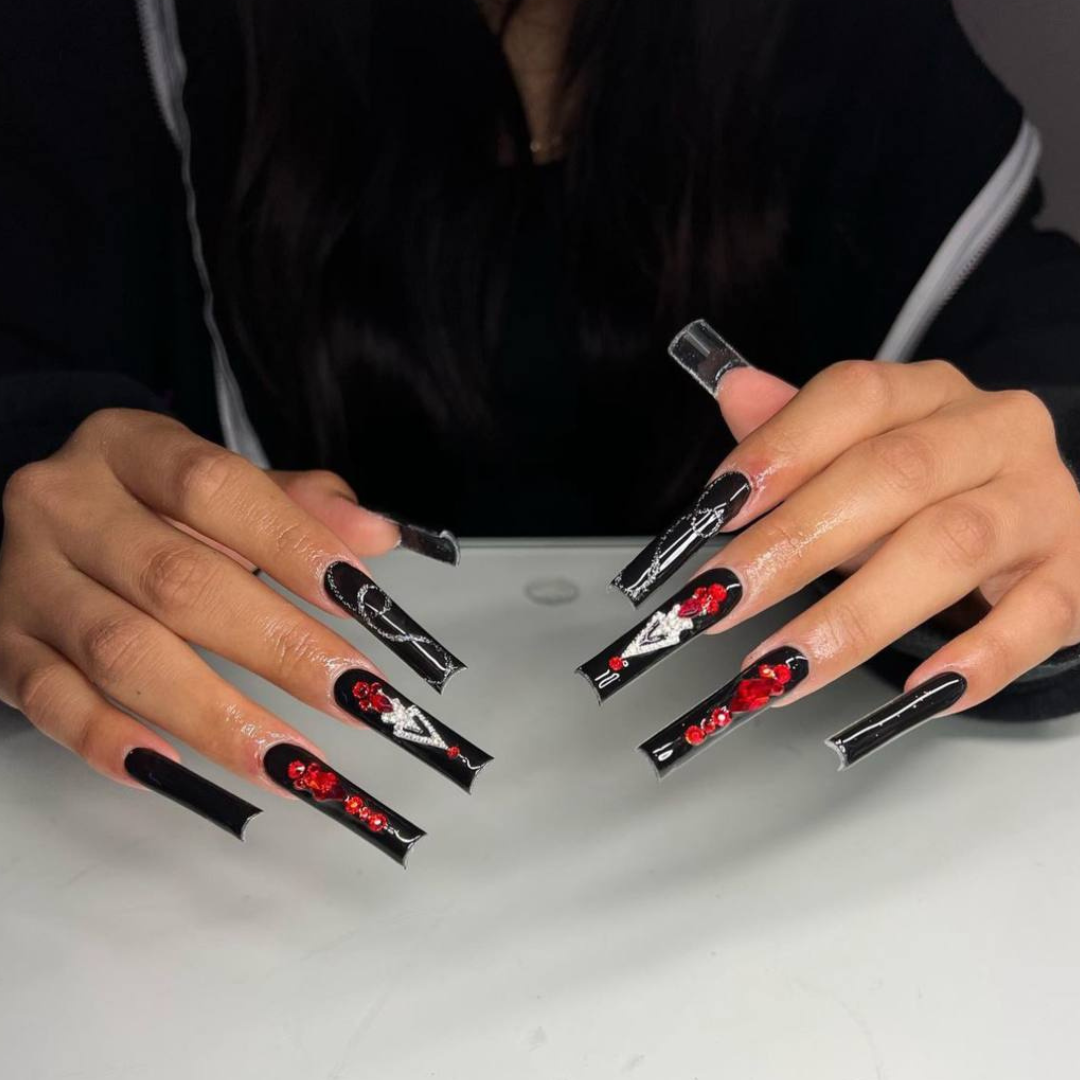
Whether it’s a sleek matte black nail or a black ballerina nail with a dash of gold glitter, this color is a statement piece. Combining black nail polishes with different acrylic shapes is a great way to experiment with a dramatic look.
Ombre Acrylic Nails
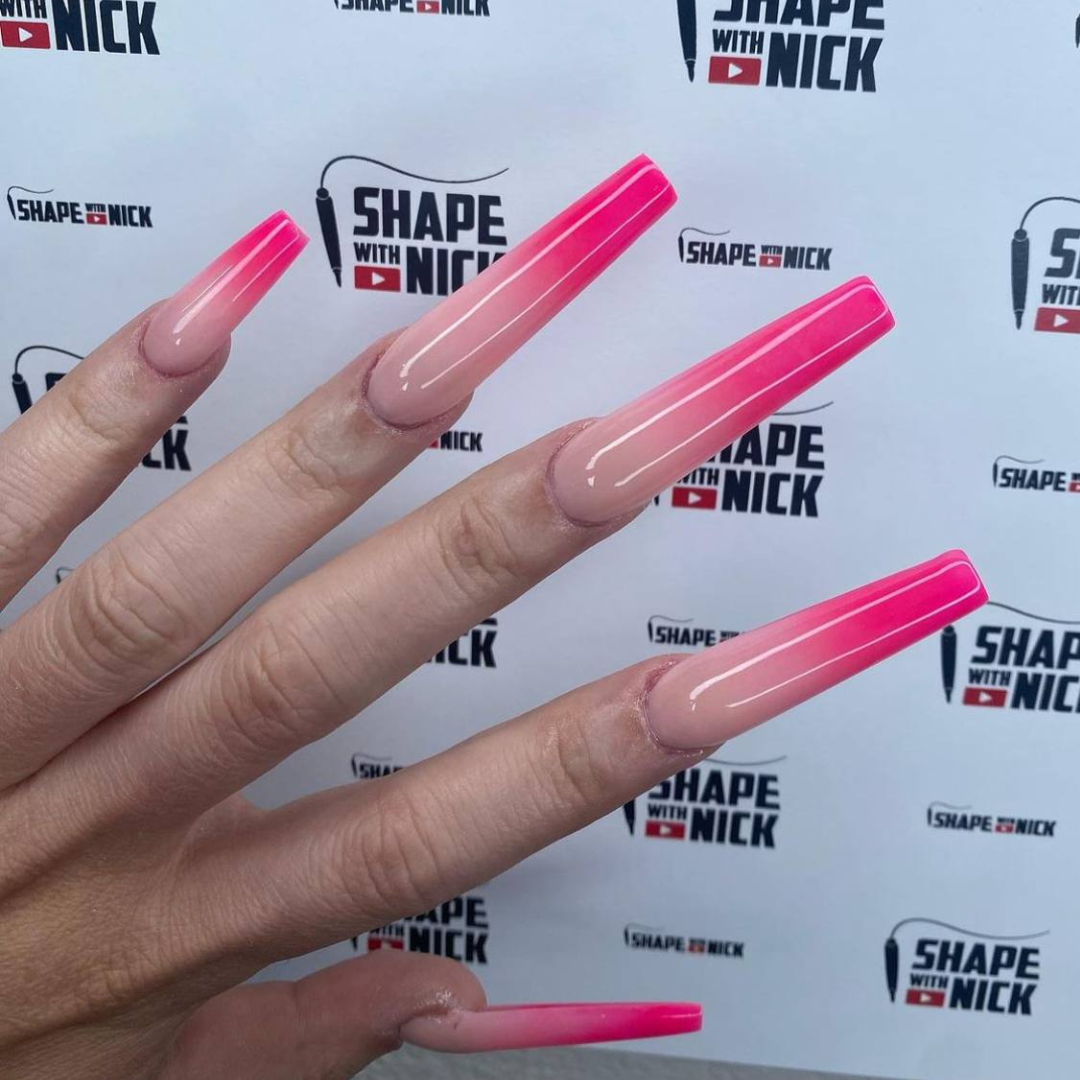
Also called a French ombre manicure, these are a different take on the classic French tip. Instead of solid white tips, these gradually fade into pink. It looks awesome with short acrylic nails and creates the illusion of length.
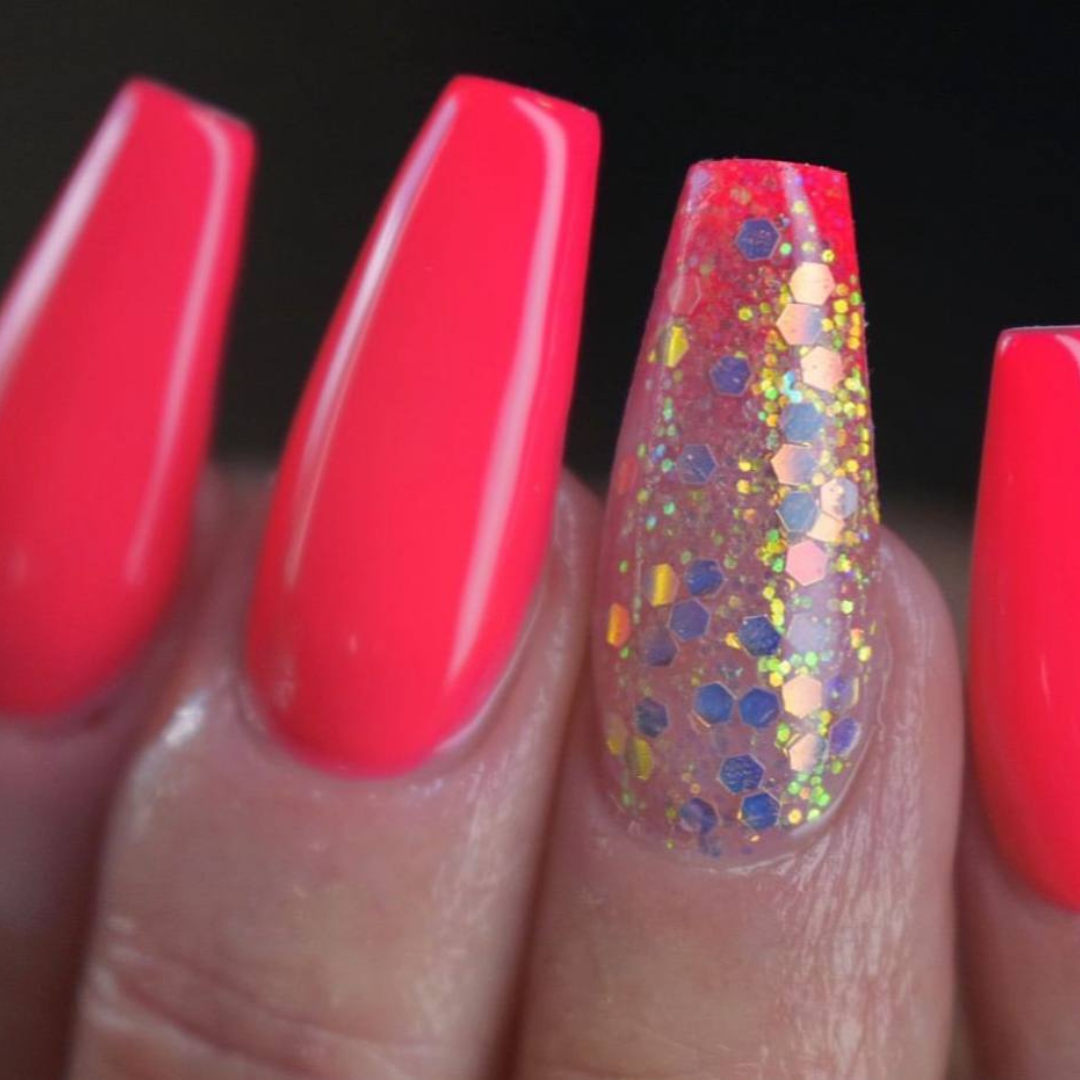
Coffin Acrylic Nails
Instead of going for square acrylic nails try a coffin-shape. It’s longer than usual with a squared-off tip. This modern acrylic nail trend is the perfect opportunity to make your manicure stand out with some interesting nail art or a bold color.
How To Remove Acrylic Nails
People often ask how to get acrylic nails off, and the good news is that it’s easy, especially if you go to a professional.
But if you’re wondering how to remove acrylic nails at home, the first step is to gather a few basic supplies. You’ll want to get:
- Acetone
- A small bowl
- Nail clippers
- A nail file
- A cuticle stick
- Cotton balls
- Tinfoil
Start by trimming down the entire nail as much as possible (leave about 2 centimeters above the natural nail bed for safety), then file the tops of each acrylic down (but don’t be too rough) to reduce the thickness.
Next, soak cotton balls in acetone, then set one on top of each nail and wrap it in foil. Leave these on for 10-20 minutes.
Finally, gently push each acrylic off using a cuticle stick. Wash your hangs and apply some cuticle oil to hydrate your nails.
Conclusion
Getting a kit for acrylic nails can be a fun way to change up your look, but it’s important to do your research and practice if you want great results.
We’ve tried our best to cover as much as possible in this acrylic nails guide, but we know that there are so many options out there to choose from that it would be impossible to go over everything. We’re always excited to hear your ideas, so why not reach out and let us know?
Citations
Nail anatomy
https://www.sciencedirect.com/science/
Finger nail plate shape and size for personal identification – a possible low technology method for the developing world - Preliminary report
https://www.ajol.info/index.php/ajhs/article/view/30795
Physics of nail conditions: why do ingrown nails always happen in the big toes?
https://iopscience.iop.org/article/
FAQs
How Long Do Acrylic Nails Last?
Depending on how much you work with your hands, and how you take care of your manicure, acrylics can last six to eight weeks, but they’ll need to be filled in every two to three weeks to keep them looking great.
How Much Do Acrylic Nails Cost?
A complete set of acrylics will cost between $25 and $50, depending on the salon location. Of course, this cost will go up if you get any custom nail art or add-ons during your appointment, or if the nail technician is very in-demand.
How To Take Care Of Acrylic Nails?
The best way to care for your new acrylics is to keep your hands clean and moisturized, wear gloves when doing dishes or any heavy work, and use cuticle oil regularly to keep your nails in good condition.